Authentic Dry Arbi Sabzi Recipe for Everyday Meals
Share
Some vegetables quietly earn their spot in the weekly rotation, and arbi is one of them. Crisp on the outside, soft inside, coated in a tangy masala a good dry arbi sabzi turns an ordinary dal-chawal lunch into something you actually look forward to. Yet arbi carries a reputation for going slimy, and that scares many home cooks off. It shouldn't. Once you know two or three small tricks, arbi becomes one of the easiest and most reliable sabzis you can make.
This is a no-fuss, everyday recipe no onion-garlic gravy, no long list of steps. Just clean flavour, a satisfying crunch, and masala that clings to every piece.
What is Arbi?
Arbi (also called taro, colocasia, arvi, or ghuiyan) is a starchy root vegetable the corm of the Colocasia esculenta plant. It has rough brown skin, creamy white flesh, and a mild, nutty, faintly earthy taste. You'll find it across Indian, African, Caribbean, and Pacific kitchens, where it's treated much like a potato but turns smoother, almost creamy, once cooked.
One important rule: always cook arbi thoroughly. Raw arbi contains calcium oxalate, which causes that itchy, scratchy feeling on the hands and throat. Boiling or pressure-cooking removes it completely which is why nearly every arbi recipe starts with boiling.
Arbi Nutrition: Why It Deserves a Spot on Your Plate
Arbi isn't just filling it's genuinely nourishing. Per 100 g, raw taro gives about 112 calories, 26.5 g of carbohydrates, and 4.1 g of dietary fibre (roughly 11% of your daily need).
A few numbers worth remembering:
Potassium powerhouse: 591 mg per 100 g about 65% more than a banana. Potassium supports healthy blood pressure and heart function.
High in fibre: cooked arbi carries around 5.1 g of fibre per 100 g roughly 3× more than a white potato and 12× more than white rice.
Low glycemic index: with a GI of about 54, arbi releases energy slowly, making it gentler on blood sugar than many other starches.
Barely any sugar or fat: sugar sits at just 0.4 g per 100 g, with negligible fat.
(Source: USDA FoodData Central.) In short, arbi is a slow-burn, gut-friendly carb a smarter swap for potato on days you want something a little more wholesome.
The ajwain and amchur aren't just extras here. Ajwain aids digestion (arbi can feel heavy), and amchur's tang is exactly what cuts the stickiness and lifts the whole dish.
How to Make Arbi Sabzi (Step-by-Step)
Boil the arbi: Rinse well to remove dirt, then pressure-cook with enough water for 2–3 whistles, until a knife slides through easily. Don't overcook, or it turns mushy.
Cool and peel: Let it cool, then peel the skin with your fingers it comes off cleanly. Cut into thick roundels or halves.
Dry it well: Pat the pieces completely dry with a kitchen towel. This one step is what keeps arbi from turning slimy.
Temper the oil: Heat oil in a wide pan. Add cumin, ajwain and hing and let them splutter.
Fry to crisp: Add the arbi in a single layer. Shallow-fry on medium-high, turning occasionally, until the edges turn golden and crisp about 6–8 minutes. Resist the urge to stir constantly.
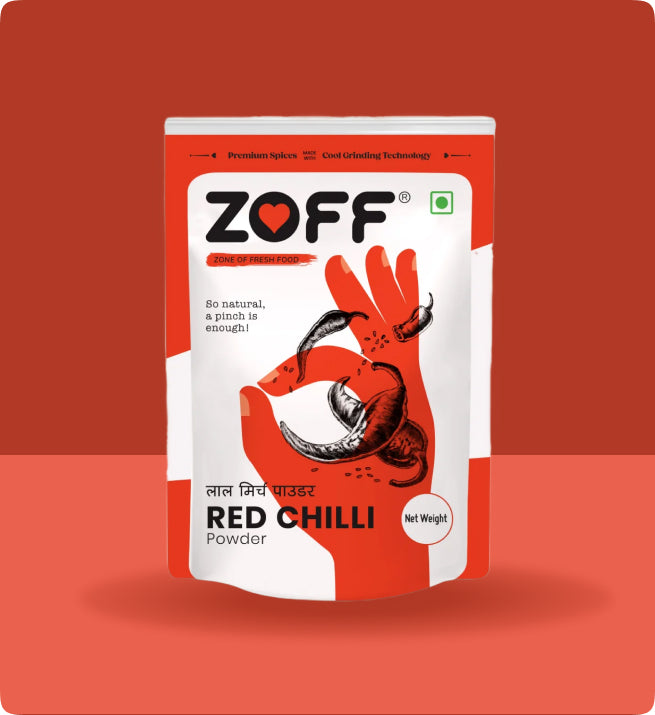
Add the masala: Lower the heat. Add turmeric, chilli powder, coriander powder, and salt. Toss gently so every piece is coated.
Finish: Sprinkle amchur and garam masala, toss for another minute, then take it off the heat. Garnish with fresh coriander.
Total time: about 30 minutes, most of it hands-off while the arbi boils.
Tips & Serving Suggestions
The one thing that ruins arbi is sliminess. Beat it with a simple 3-S Rule:
Dry: pat boiled arbi fully dry before frying.
Space: fry in a single layer; overcrowding steams instead of crisps.
Sour: amchur or a squeeze of lemon at the end cuts any residual stickiness.
A few more pointers: use a wide, heavy pan for maximum crisp; don't cover the pan while frying (trapped steam = soggy arbi); and add salt only after the arbi has crisped, since salt draws out moisture too early.
Serving-wise, dry arbi sabzi is wonderfully versatile. It pairs beautifully with dal-chawal, hot phulkas, or a simple curd rice. Because it's dry, it also travels well making it an ideal tiffin sabzi that won't leak or go soggy by lunchtime. Serve it alongside rajma, kadhi, or a plain moong dal for a comforting, balanced everyday thali.
Make it this way once, and arbi stops being intimidating it quietly becomes a regular.
Disclaimer: The information in this blog is for general informational purposes gathered from various sources. Zoff Foods does not guarantee specific health or nutritional outcomes. Please consult a qualified health professional for personalised dietary advice.
Frequently Asked Questions
1. What is arbi called in English?
Arbi is called taro or colocasia in English. It's the edible corm (root) of the Colocasia esculenta plant, also known as arvi, dasheen, or ghuiyan.
2. Why does arbi become slimy, and how do I stop it?
Arbi turns slimy because of its natural starch. To avoid it, pat the boiled arbi completely dry before frying, cook it in a single layer without covering the pan, and add a souring agent like amchur or lemon at the end.
3. Do I need to boil arbi before frying?
Yes. Boiling or pressure-cooking arbi first softens it and removes the calcium oxalate that causes itching. Fry only after the arbi is boiled and peeled.
4. Is arbi good for health?
Yes. Arbi is high in fibre and potassium, low in sugar and fat, and has a low glycemic index (around 54), making it a slow-releasing, heart- and gut-friendly carbohydrate.
5. Can I make arbi sabzi without onion and garlic?
Absolutely. This dry arbi recipe is naturally onion- and garlic-free, relying on cumin, ajwain, and amchur for flavour which also makes it suitable for vrat and satvik meals.
6. How long does it take to make arbi sabzi?
About 30 minutes in total roughly 15 minutes to boil the arbi and 10–12 minutes to crisp and season it.
Z
ABOUT THE AUTHOR
ZOFF Foods
ZOFF Foods is built on the belief that great taste starts with great ingredients. With cool grinding technology and a focus on freshness, ZOFF brings authentic Indian flavours to every kitchen.


 Sold out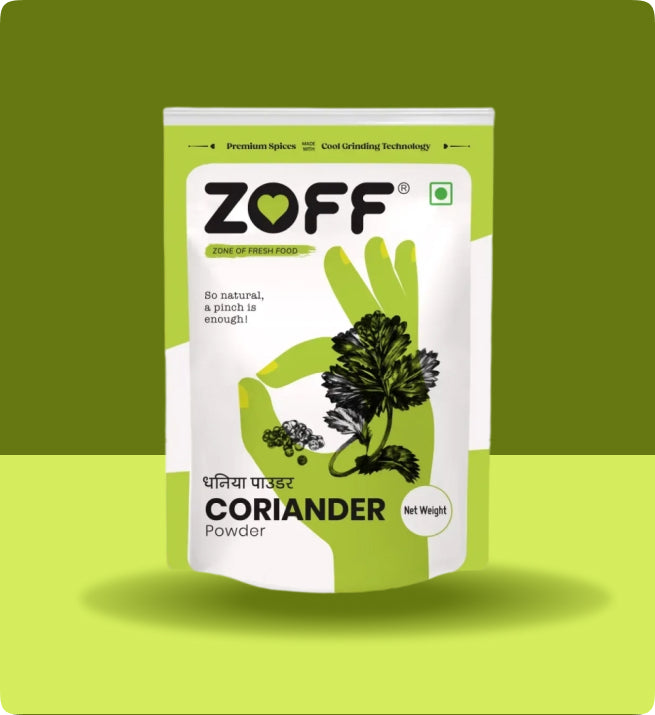
 Sold out